How to Freeze Food Without Freezer Burn
Freezer burn is air drying out the surface of frozen food. Keep the air out, freeze it flat, and the chicken you put away last month comes back tasting like chicken.
You open the freezer for the chicken you put away last month. The package looks fine. Then you unwrap it and one edge is grey and dry, with a rough patch that looks nothing like the rest of the meat. You did not do anything wrong. You just let air get to it.
That grey patch is freezer burn, and learning to freeze food without freezer burn comes down to one idea: keep the air away from the food. I freeze food every week for a family of four, and the rules I use are simple. They work on chicken, on soup, on bread, on the berries the kids did not finish. None of them needs a gadget you do not already own.
The short answer
Freezer burn is air drying out the surface of frozen food. Wrap food tight with the air pressed out, use bags and wrap made for the freezer, freeze it flat so it freezes fast, and keep your freezer at 0°F or below. Food that is sealed properly and frozen fast comes out tasting like the food you put in.
What freezer burn actually is
Freezer burn is drying, not rotting. Even at 0°F, the ice on the surface of frozen food slowly turns straight into water vapor, without melting first. That is called sublimation. The moisture leaves the food and collects as frost on the inside of the package or on the freezer walls, and the surface underneath dries out.
Air does the rest. Where air can reach the dry surface, the food turns dull and grey or brown, and the flavor goes stale and flat. So freezer burn is really two things happening at once: moisture loss and air damage, both only where air can touch the food. A piece of chicken sealed tight with no air around it does not burn. The same chicken with a loose corner of wrap dries out exactly where the air got in.
Three things make it worse. Air in the package, a freezer that runs warm or swings in temperature, and time. The longer food sits, the more the surface dries. A frost-free freezer adds a little to the problem, because it warms slightly during its defrost cycles to clear frost, and that warming speeds the drying. You cannot turn the defrost cycle off, so the answer is better wrapping, not a different freezer.
The good news is that freezer burn is a quality problem, not a safety problem. Food with freezer burn is safe to eat as long as it stayed frozen the whole time. Cut the dry grey patches away before or after cooking and use the rest normally. If most of the piece is affected, it will be too dry and tasteless to enjoy, and that is a waste of good food. That is the part worth preventing.
Your freezer should run at 0°F, which is -18°C, or below. At that temperature food stays safe indefinitely, because the cold stops bacteria from growing. The limits on frozen food are about quality, not safety. A cheap freezer thermometer tells you the real number, which is worth knowing, because the dial on the front of the freezer is a guess and the door gets opened a dozen times a day in a family kitchen.
Time still matters, even with perfect wrapping. Every food has a window where it tastes its best, and the clock runs at a different speed for meat, bread, and soup. I keep the full list of freezer storage times in one place, so I am not guessing when I find a package at the back of the drawer.
The wrapping rules
Every wrapping rule is the same rule in different clothes: get the air out, and keep it out.
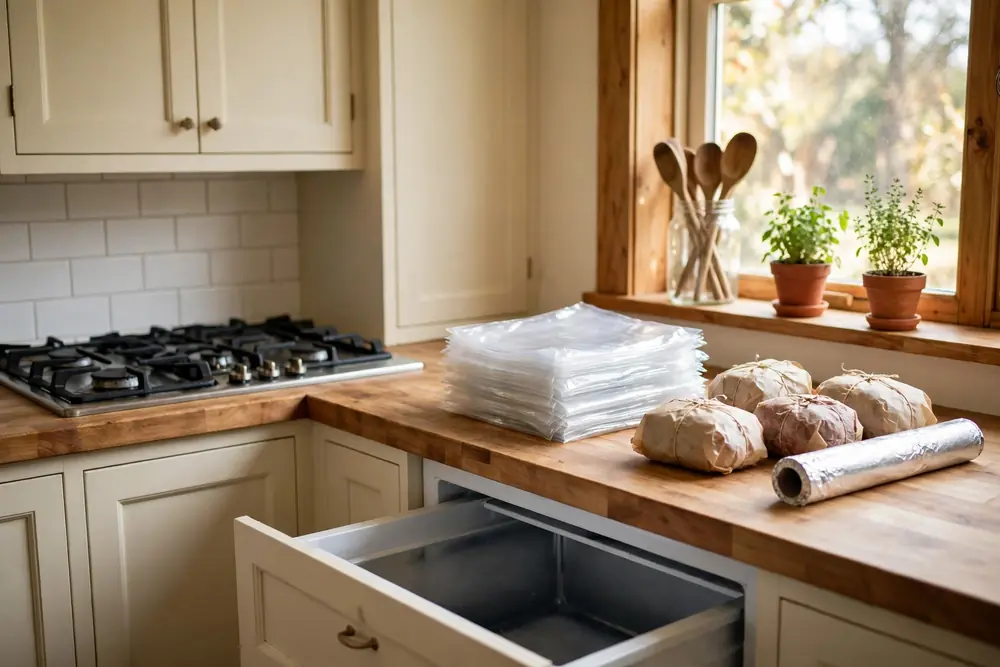
Start with the right material. Freezer bags are thicker than sandwich bags and they seal properly. Heavy-duty foil holds a tight wrap without tearing. Freezer paper works for meat if you put the waxy side against the food and fold the edges over. Thin cling wrap and the flimsy plastic on a supermarket meat tray are not freezer wrapping. That tray wrap lets air through, so meat frozen in it dries out over time. If you buy meat on a tray and you will not cook it within a day or two, take it out of the tray and rewrap it.
Press the air out before you seal. With a bag, lay it flat, push the air toward the opening with the flat of your hand, and seal the last inch while you are still pressing. With foil or wrap, press it against the food so there is no air pocket between the wrap and the surface. A straw in the corner of a zip bag, pulled out as you seal, gets the last of the air out. It sounds fussy. It takes ten seconds, and it is the difference between chicken that tastes fine in three months and chicken that tastes like cardboard.
Double-wrap anything that will sit for a while. Wrap the food tight in foil or plastic wrap first, then put it in a freezer bag with the air pressed out. Two layers fail far less often than one. A bag with a tiny hole in it still protects the food if the foil underneath is intact. A foil wrap with a torn corner still holds if the bag outside it is sealed. This is the rule for the big pieces: a whole chicken, a roast, the turkey you bought on sale.
Rigid containers work too, as long as the lid actually seals. Press a layer of wrap directly onto the surface of the food inside the container before you put the lid on. That kills the air gap between the food and the lid, which is where the drying starts. For soup and stock, leave about an inch of room at the top, because liquid expands as it freezes and a full container cracks or pops its lid. Glass containers go in the freezer with the lid on and the food cooled first. Never move glass straight from the freezer into a hot oven. Let it come to room temperature first.
A vacuum sealer is the most thorough way to get air out, and if you freeze a lot of meat it earns its place. You do not need one to beat freezer burn. A freezer bag with the air pressed out by hand does the same job for most things. Buy the sealer if you freeze whole animals or bulk buys. Skip it if you freeze weeknight leftovers and the odd batch of soup.
Cool food before it goes in. Hot soup in the freezer warms everything around it, melts the frost off the packages next to it, and then refreezes as ice crystals on their surface. Let the pot sit on the counter until it stops steaming, then move it to the fridge for an hour, then into the freezer. Cold food freezes faster, and fast freezing is part of the whole point.
If your containers and bags are the weak point, the fix is a better seal, not better luck. I compared the containers and bags that actually hold a seal in my guide to the best freezer storage containers, and the ones that won are the ones with latches or gaskets that close the same way every time.
Freeze it flat
The shape of the package matters as much as the wrap. A thick lump freezes slowly, and slow freezing makes big ice crystals that damage the food from the inside. A flat package freezes fast, stacks neatly, and thaws in a fraction of the time.
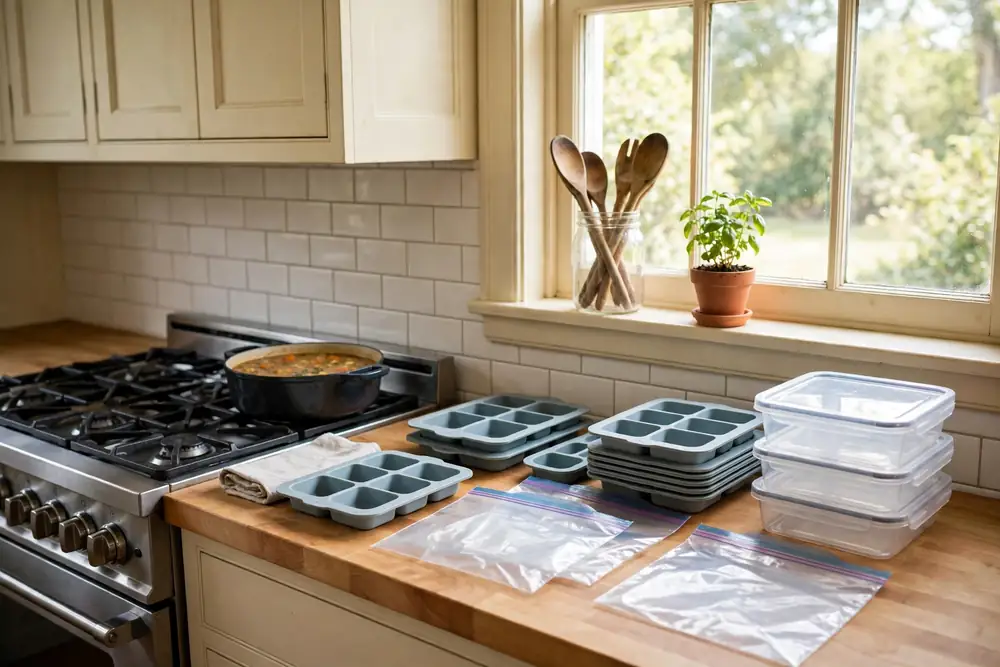
Soup, stew, stock, and ground meat are the foods this matters most for. Pour soup into a freezer bag, press the air out, and lay the bag flat on a baking sheet in the freezer. Once it is solid, stand the flat bags upright in a bin like files in a drawer. A bag of soup frozen flat takes up a fraction of the space a rigid container takes, and it thaws faster too, because it is thin.
Ground meat freezes the same way. Flatten a pound of ground beef in a bag to about half an inch thick, press out the air, and freeze it flat. A flat pound of ground beef thaws in the fridge in a few hours. A thick brick of the same meat takes a full day. That is the difference between dinner and takeout on a night you forgot to plan.
A package about two inches thick takes about two hours to freeze through. Thinner is faster. Anything thicker than two inches is worth splitting into two flat packages. Bread freezes well sliced, because you can take out two slices without thawing the loaf. Berries freeze best spread on a tray first, then bagged once they are hard, so they do not freeze into one solid lump.
Do not cram a batch of warm packages into one corner of the freezer. Cold air needs to move around a package to freeze it. Spread new packages out on a shelf until they are solid, then stack them. A freezer that is reasonably full holds its temperature better than an empty one, but a freezer packed so tight that air cannot circulate freezes new food slowly, which is the opposite of what you want.

The reusable bag that freezes flat
Stasher Silicone Reusable Food Storage Bags, 4-Pack
Platinum silicone bags with a pinch-lock seal that closes tight, safe for the freezer, and the half gallon bag holds a batch of soup laid flat. Run a finger along the whole seal before you trust it with liquid.
Portions and labels
Freezer burn is a time problem as much as an air problem, and portions are how you beat the time part. Freeze food in the amount you will actually cook. A family of four eats a pound of ground beef in one dinner, so I freeze ground beef by the pound. Soup goes in two-cup portions for lunches and four-cup portions for dinners. Chicken breasts go in pairs, because that is what one dinner takes.
A portion that matches a meal means you thaw the whole package and use it all. A package that is too big means you thaw it, use half, and put the rest back, and every thaw and refreeze makes the texture worse and the drying faster. The second freeze is never as kind as the first.
Label everything. A frozen bag of red sauce and a frozen bag of chili look identical after a month, and a bag with no date is a bag you will leave at the back of the drawer until it is too dry to save. Write the name and the date on the bag with a marker before you fill it. A piece of masking tape and a pen works on containers. The date matters more than the name. The name tells you what it is. The date tells you whether it is still worth cooking.
Use the oldest food first. New packages go at the back or the bottom. Old packages come to the front. When I do a weekly shop, I look at the freezer before I write the list, and anything coming up on its date goes on the meal plan for that week. The freezer is a pantry, not a museum. Food that sits for a year is food you paid for and never ate.
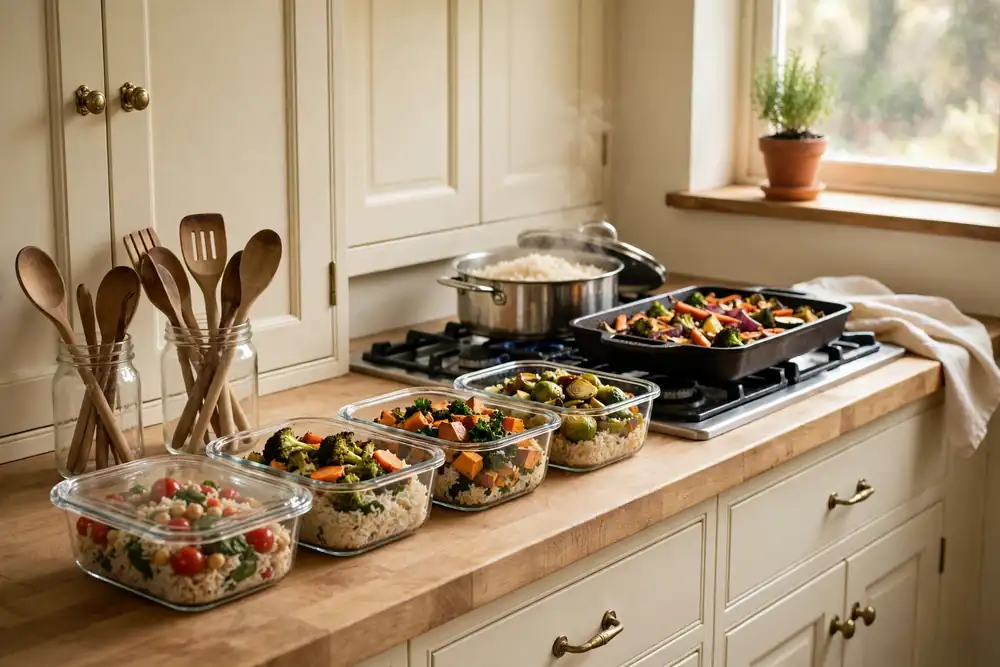
If you cook a week of food in one go, portions are the whole system. I pack a week of lunches on Sunday in the meal prep containers I use for the fridge and the freezer, and the same rule applies: one container, one meal, label on the lid, oldest first.
What freezes well, and what does not
Almost any food can be frozen safely. The question is what it tastes like when it thaws. Some foods come back exactly as they went in. Some come back as something you would rather not eat. The difference is usually water and structure. Foods with a lot of water and delicate cell walls turn to mush, because freezing makes ice crystals that break the cells open. Foods built on emulsions, like mayonnaise, split apart, because freezing breaks the bond between the oil and the water.
| Food | Freezes well? | What happens |
|---|---|---|
| Soup, stew, and stock | Yes | Freezes flat in bags, thaws fast, tastes the same |
| Raw meat and poultry | Yes | Best frozen tight in freezer bags or double-wrapped |
| Cooked meat | Yes | Slice or portion first, keep it covered in its own juices where you can |
| Bread and rolls | Yes | Slice first so you thaw only what you need |
| Butter | Yes | Keeps its flavor and texture well |
| Hard cheese | Yes | Grate it first if you will cook with it, since it can crumble |
| Berries and most fruit | Yes | Freeze on a tray first, then bag, so they stay loose |
| Vegetables, blanched | Yes | A quick blanch before freezing keeps the color and texture |
| Cooked grains and rice | Yes | Portion flat in bags, reheat with a splash of water |
| Lettuce and salad greens | No | Turns limp and waterlogged, no crunch left |
| Cucumbers and celery, raw | No | Goes soft and watery, the cell walls break |
| Raw potatoes | No | Turns grainy and watery when thawed |
| Cooked potatoes, whole or cubed | No | Goes soft, crumbly, and mealy |
| Mayonnaise and salad dressing | No | The emulsion splits and it turns curdled |
| Cream sauces and custard fillings | No | Separates and goes watery and lumpy |
| Sour cream | No | Separates and goes watery on its own |
| Fried foods | No | Loses all crispness and goes soggy |
| Eggs in the shell | No | The shell can crack as the liquid expands, and the yolk turns thick and syrupy |
| Cooked egg whites | No | Turns rubbery and tough |
Two notes on that table. First, mashed potatoes are the exception to the potato rule. Mashed potatoes made with plenty of butter and cream freeze fine, because the starch cells are already broken down before they go in. Second, sour cream and cream cheese can still be frozen if they are going into a cooked dish, where the texture does not matter. A tub of sour cream frozen for a soup is fine. A tub of sour cream frozen for a topping is not.
Thawing it safely
Freezing stops bacteria from growing. It does not kill them. The moment food starts to thaw, the bacteria wake up again, and the safety of the food depends on how fast you get it through the warm middle ground. There are three safe ways to thaw, and the counter is not one of them.
The fridge is the best method and the one to build your routine around. Put the package on a plate or a rimmed tray on the lowest shelf, so drips cannot reach anything below it. The fridge stays at 40°F or below, so the food never warms into the danger zone. A pound of ground meat or a couple of boneless chicken breasts takes about a full day. A whole turkey needs at least a day for every five pounds. Food thawed in the fridge can wait a day or two before you cook it, which is the real advantage. Thaw on Saturday, cook on Sunday, and nothing is rushed.
Cold water is the method for when you forgot. Put the food in a leak-proof bag and submerge it completely in cold tap water. Never use hot water. Hot water warms the outside of the food into the danger zone while the middle is still frozen. Change the water every 30 minutes so it stays cold. A pound thaws in about an hour. A three or four pound package takes two to three hours. Food thawed in cold water needs to be cooked right away, not put back in the fridge for tomorrow.
The microwave is the fastest method and the one that needs the most care. Use the defrost setting, and cook the food immediately after thawing, because the microwave warms some spots while others stay cold, and those warm spots start cooking. This is the method for ground meat on a night you decided late. It is not the method for a roast.
Never thaw food on the counter, in hot water, in the garage, or on the porch. The outside of a package sitting on the counter warms into the danger zone, between 40°F and 140°F, while the middle is still frozen solid. Bacteria multiply fast in that range, and they double quickly. Perishable food should not sit at room temperature for more than two hours. That rule applies to thawing and to leftovers alike.
Cooking straight from frozen is also safe, and it works well for many things: soup, stew, vegetables, ground meat in a sauce, chicken pieces in a braise. It takes longer than cooking thawed food, so plan for the extra time. A steak or a whole chicken is better thawed first, because the outside overcooks before the middle catches up.
Questions people ask
Is freezer-burned food safe to eat?
Yes, as long as it stayed frozen the whole time. Freezer burn is drying, not spoilage. Trim the dry grey patches and cook the rest normally.
Can I fix freezer burn once it is there?
You cannot put the moisture back. Trim the dry spots away, and use the rest in a dish where texture matters less, like a soup, a stew, or a sauce. A freezer-burned chicken breast is a poor roast and a fine soup.
Do I need a vacuum sealer?
No. A freezer bag with the air pressed out by hand does the job for most food. A vacuum sealer helps if you freeze large amounts of meat at once, or if you buy in bulk.
Can I freeze food in its supermarket packaging?
For a day or two, yes. For longer storage, no. The thin wrap on a meat tray lets air through, so the food dries out over time. Rewrap it in freezer bags or foil if it will sit for more than a couple of days.
Can I refreeze food I already thawed?
If it thawed in the fridge and stayed cold, yes, though the texture takes a second hit. Food thawed in cold water or the microwave needs to be cooked before it goes back in the freezer.
How cold should my freezer be?
0°F, which is -18°C, or below. A freezer thermometer tells you the real number. The dial on the front is a guess.
How long does food last in the freezer?
That depends on the food. Freezer times are about quality, not safety, because food held at 0°F stays safe indefinitely. The question is always when the taste starts to fade, not when the food becomes unsafe.
Does freezer burn mean my freezer is broken?
No. Freezer burn means air reached the food. It happens in good freezers with loose wrapping, and it does not happen in old freezers with tight wrapping. Check the seals on the door if you see frost building up fast, but check the wrapping first.
The bottom line
Freezer burn has one cause and one cure. The cause is air. The cure is keeping it out.
Wrap food tight, with the air pressed out and a second layer where it matters. Freeze it flat so it freezes fast. Freeze it in portions you will actually cook, label it with the name and the date, and use the oldest package first. Thaw it in the fridge when you can plan ahead, and in cold water when you cannot.
That is the whole system. It takes ten extra seconds per package, and it is the difference between a freezer full of food you are glad to eat and a freezer full of grey-edged chicken you quietly throw away.